Saturday, 13 December 2014

Shake! Shake! Shake!

Hi there Friends ~

Christmas will soon be here, and as well as my Peace cards, [previous posts] I wanted to post some photos of this shaker card I just finished.

Firstly, let me say that this isn't my idea ... I borrowed this idea for a terrific Youtube video, by a poster called nasahi.

This is the link if you wanted to try this for yourself ...
https://www.youtube.com/watch?v=hmZH7XxrHw0

But here is my version ...

I cut the star using a die, and glued the acetate onto the back of this, ie behind the front of the card.
 
To make the box, you simply add foam mounting tape outside the star, on the back  ... in a rectangular, or 'box' shape. Add the sequins, beads and sparklies, then close the box with what you want to show through the window ... in this case, I used an embossed panel of Swiss dots

You can just see the mounting tape here, underneath the Swiss Dots panel, this is what keeps your beads etc in the 'box'! When you put the card insert over this, it all looks neater.


Cut the panel for the front at the same time you do the star on the front of the card. I didn't do mine in two sections like the lady in the video ... but you can get a good impression on the cover panel if you run both through at the same time. Even if it's not cut right through, run it through the BigShot again to finish it off and it should be in the exact position you need to glue this coloured panel onto the card front. See below.


Add the silver star frame, and whatever embellishments you feel suits your card.


Here are two others that I've just finished! The 'box' that holds the embellishments could be any shape, but square or rectangular seems easiest ... but the front aperture doesn't have to match this . If you can make the 'box' at back fairly close in size to the aperture, but not so close that the tape shows, then your sequins and beads won't get so lost behind there, caught in corners etc.


Thanks so much for visiting my blog ... I hope your lead-up to the festive season is going well.
Try to eliminate as much stress as you can by handing over the worst jobs to others!! Adriana doesn't know it yet but this afternoon she's going to be chasing cobwebs from the outside eaves, and Kieran will be de-sticking the yard!
Always plenty to do when you don't use poisons and have a yard full of gumtrees!

Personalising Cards

Hello  Friends ~
Welcome to my blog.
So close now to Christmas and the New Year! Where did 2014 go?

I think one of my New Year resolutions might be to try and make this blog a little more exciting-looking!
Some of the blogs I visit are fabulous ... filled with colour ... yes, this definitely must go on The List!!

I wanted to share a couple of cards that I've done recently, the first one back in October for a friend's birthday, the second, a Christmas card for a friend in England.
The third, another birthday card for my son's best friend who has spent a lot of time with us over the years. He's an apprentice electrician, so his 21st birthday card was designed around that.

                                     ***    ***    ***    ***    ***    ***    ***    ***    ***

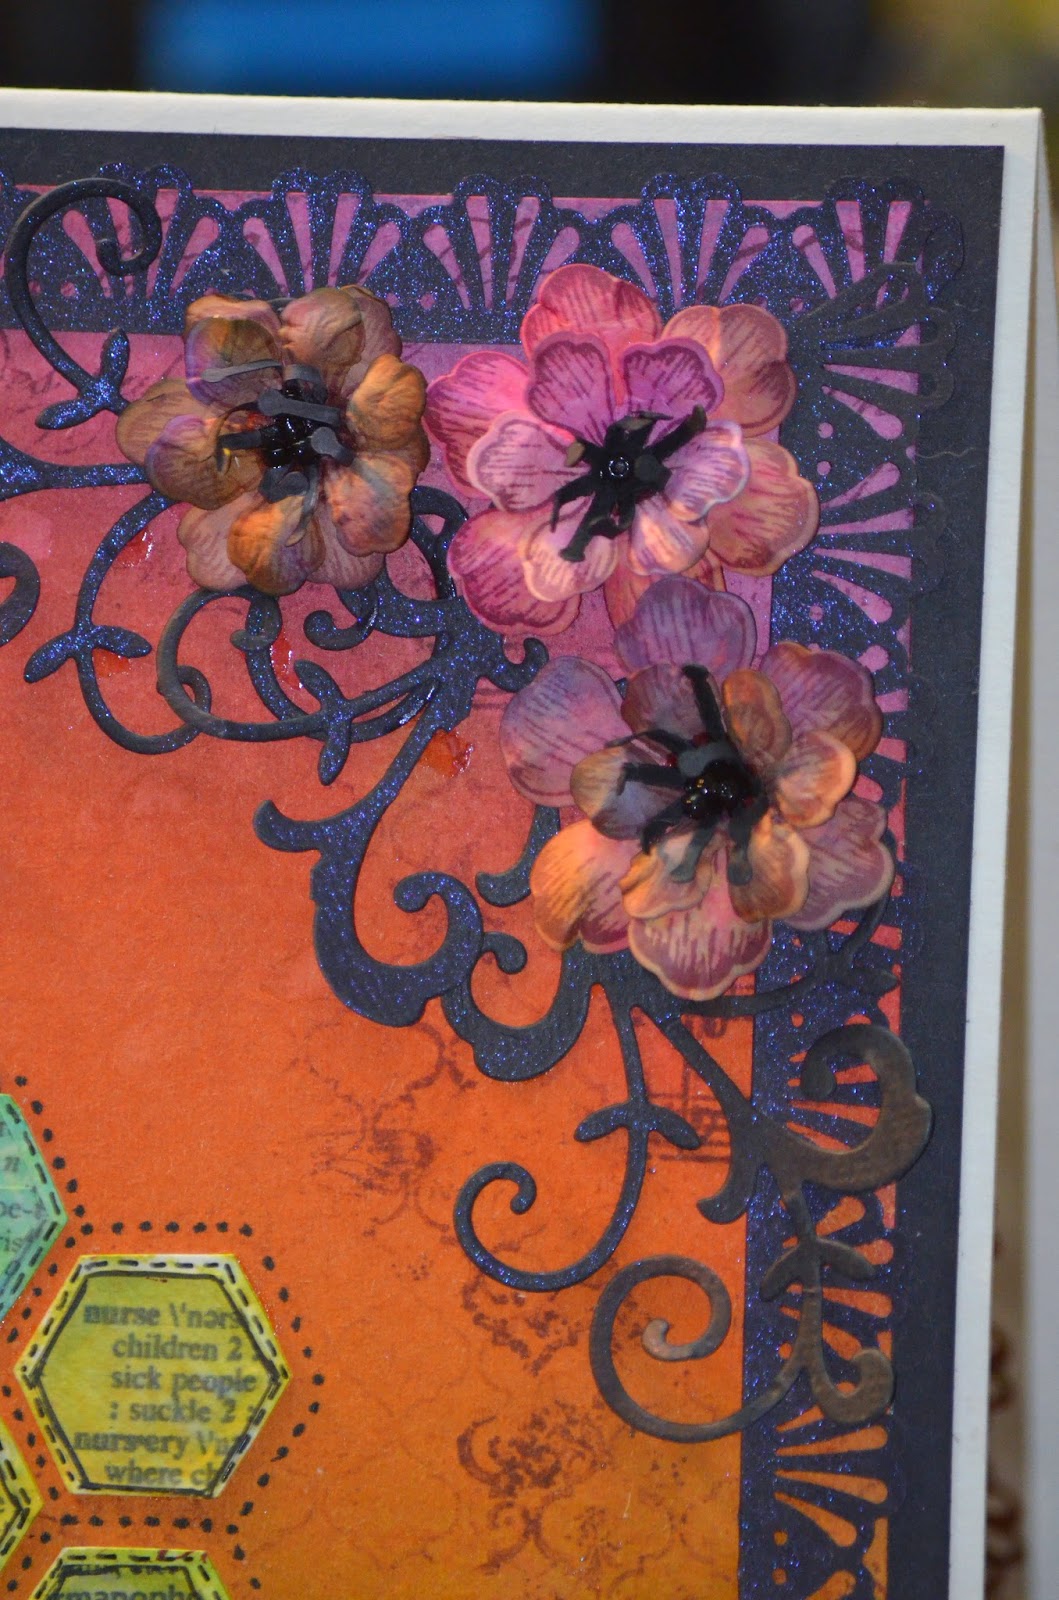
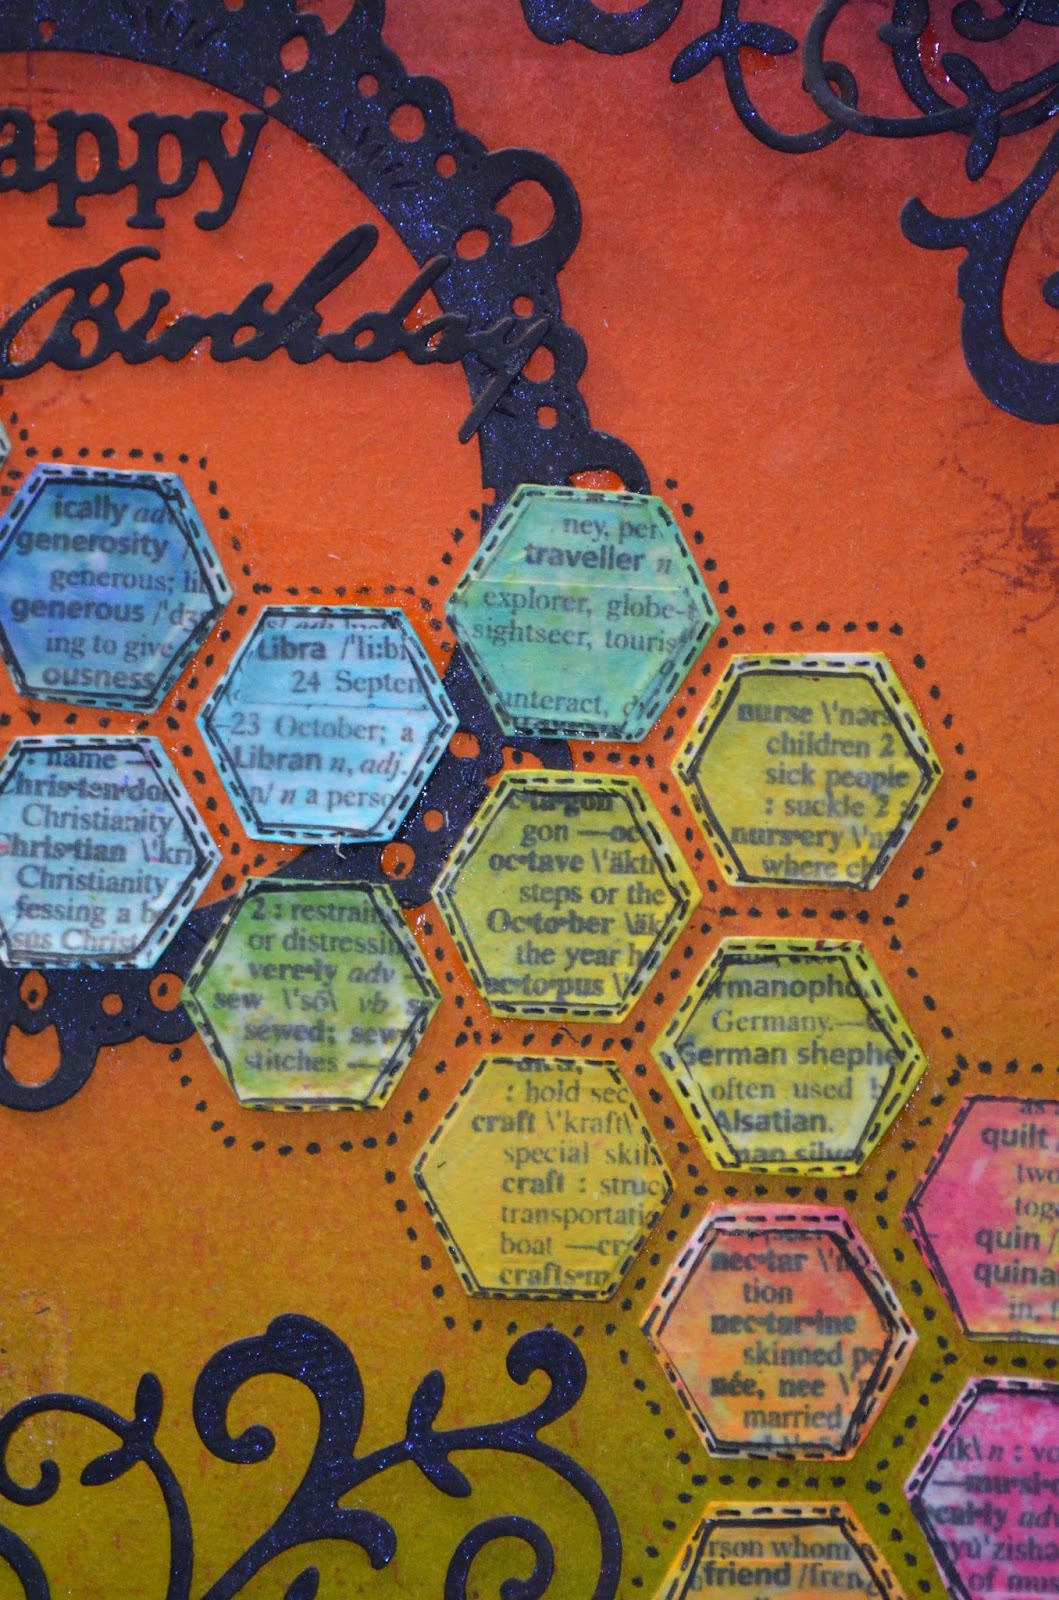
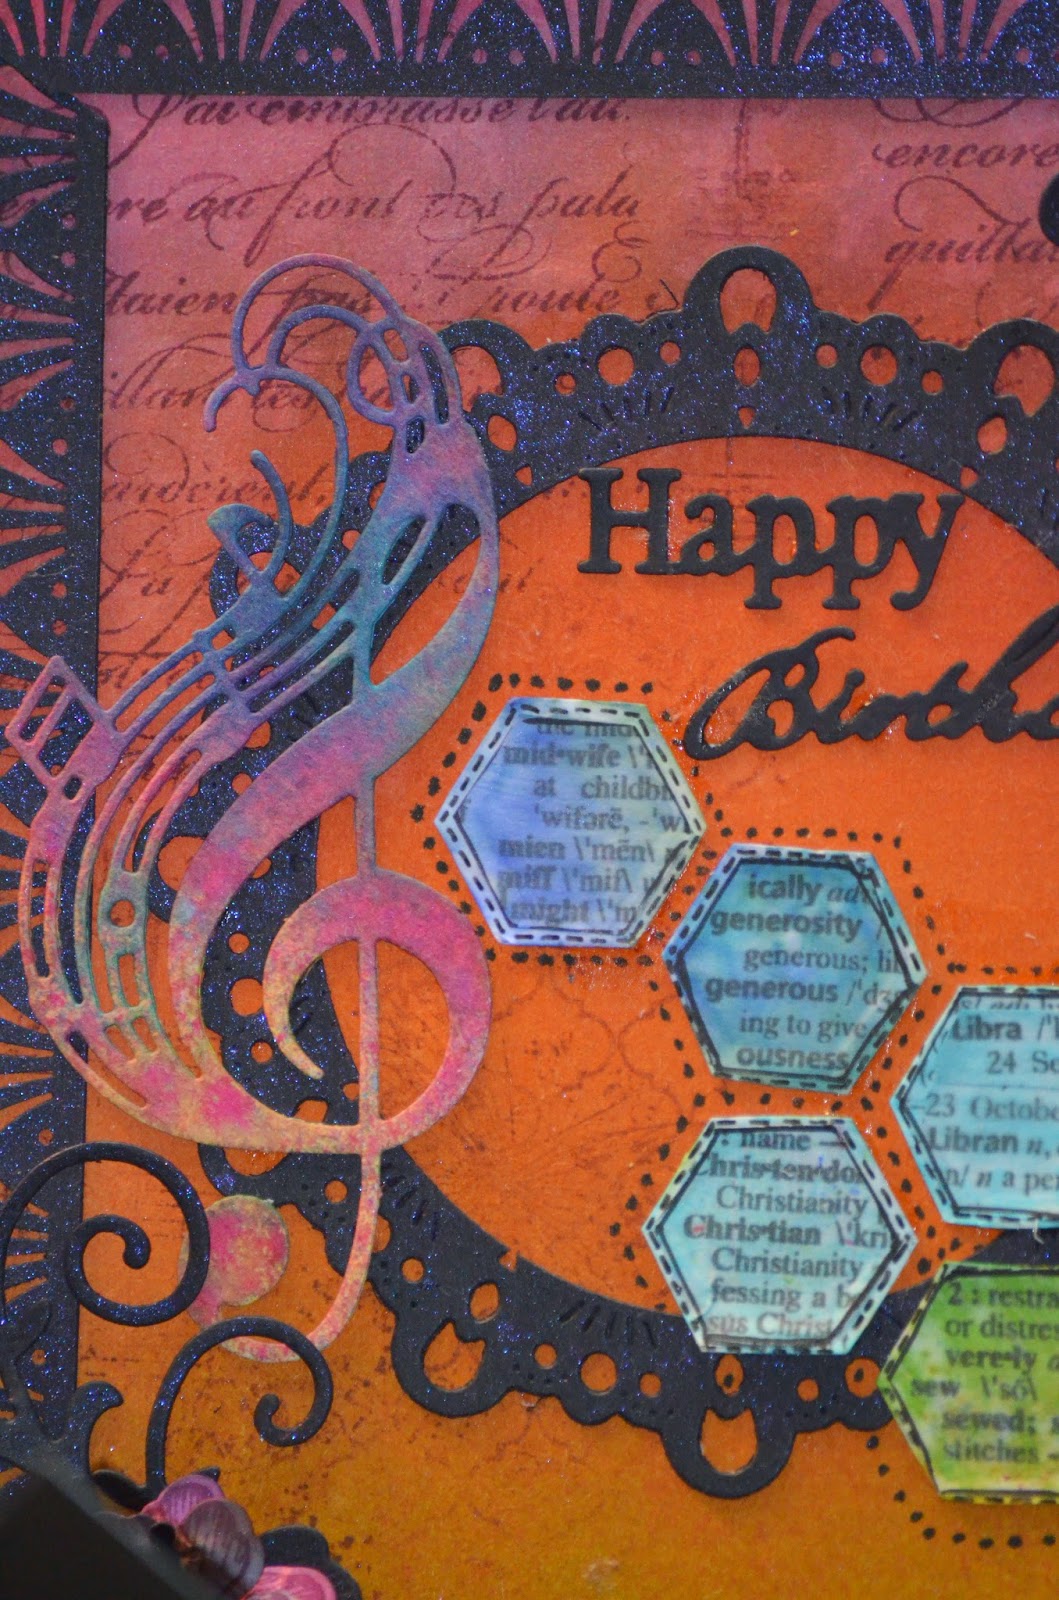
This first card was for a friend who enjoys making cards and is very skilled at this. She is also a quilter ... arranges the music for her church ... and is a midwife at a large local hospital. She has a German Shepherd, and is a generally all-round, lovely person, so I wanted to make something a bit special.

I used Flat Fabio sprays from Lindy's Stamp Gang, and Dylusion Sprays by Ranger, for the background panels. This card was huge ... about  8" x 8" ... but I wanted to fit a lot on it, as she is such a busy person and has so many interests..


Fourteen quilter's hexagons, each one a word especially for her, cut from a Dictionary [copy], and 'stitched' onto the card.


This was the first time I'd used my new Arianna Blooms die and Stamp set from Heartfelt Creations, and I was pleased with the flowers. 

Each word a personal reflection of her life.

I love this musical die cut ... I wish I had more opportunities to use it! The background script stamp is  En Francais, from Stampin'Up.


The insert ... a little stamping and using the sections left from die-cutting the flowers as a stencil. I should have gone over those a second time with a smaller flower. Never mind... next time. The fan edging is a Martha Stewart punch called Deco Shells.

I knew what I wanted to do for this card, but the 'doing of it' was a bit tricky for me, so in the end, even as I was putting it together, much better ways sprang to mind.
I was pleased with the result though.

                                                                  *  *  *  *  *

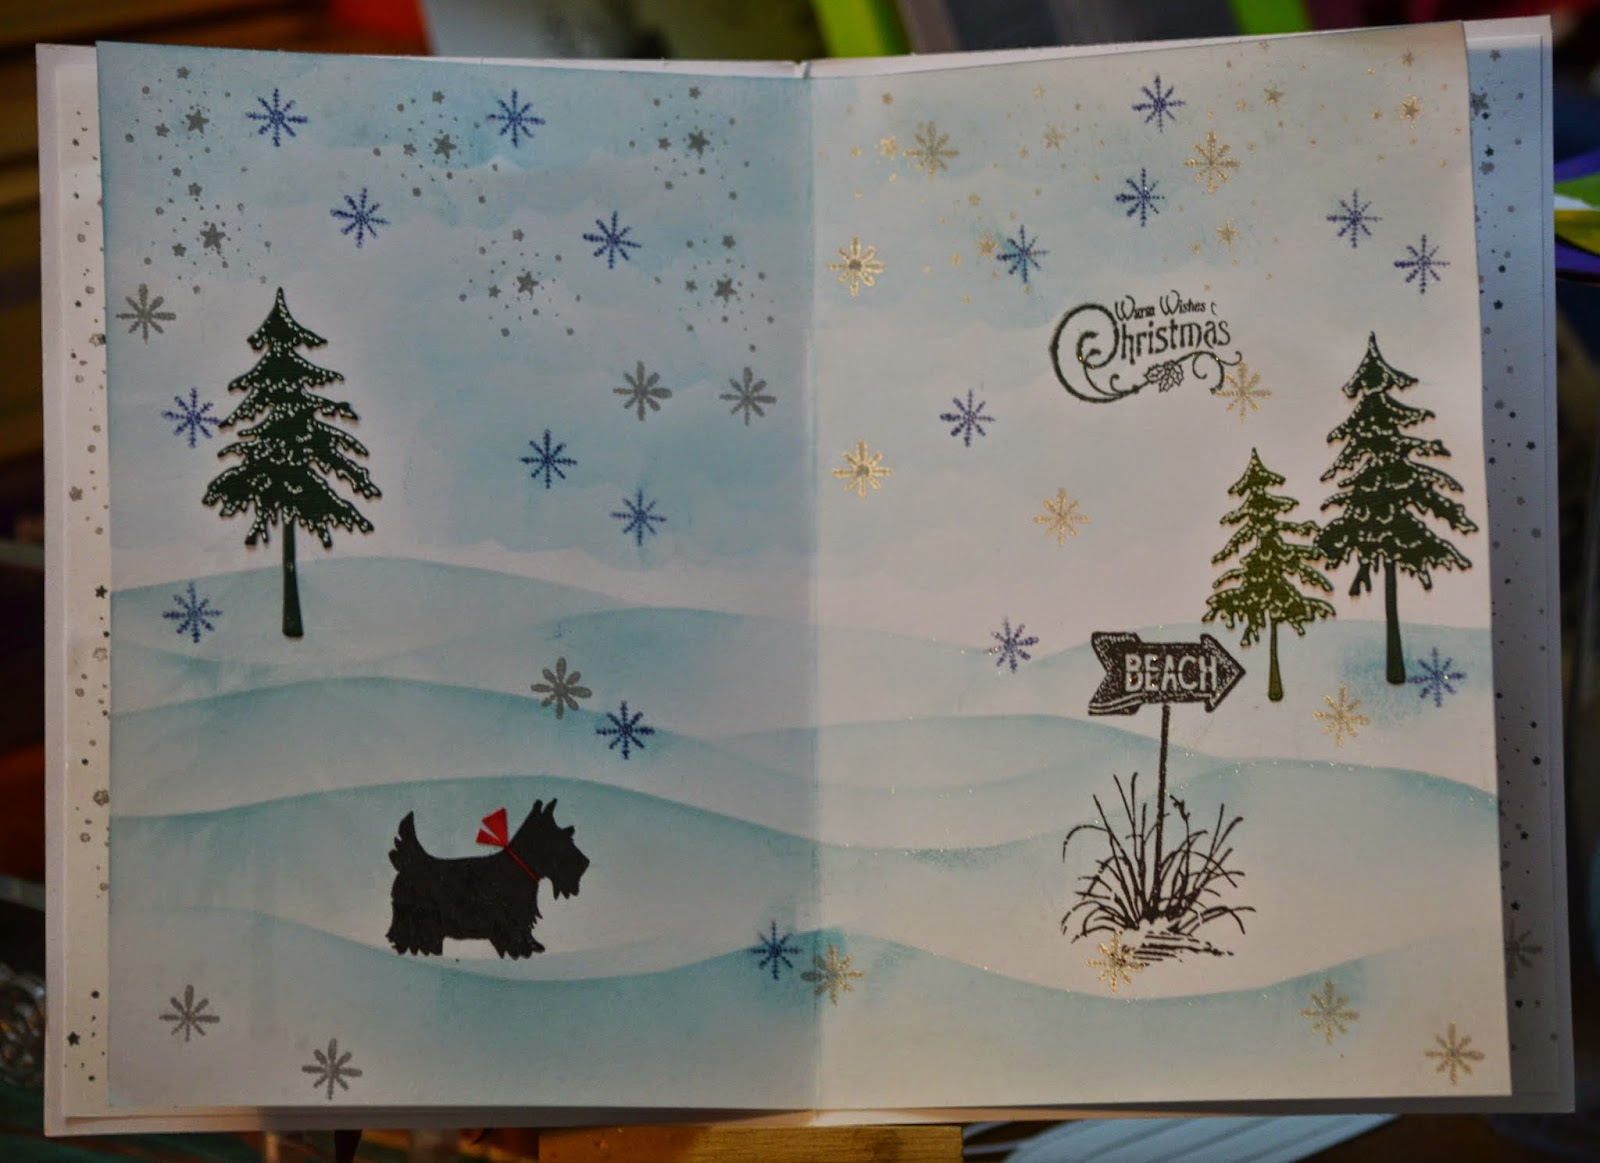
The second card is for a friend who lives in Durham. His online name has the word 'Scotty' in it, so this gave me the ideas for this card. He also loves the beach and is a seaglass collector.

I've never used sequins before, but am finding they do a great job in 'lifting' an area and adding a bit of bling and sparkle, especially on Christmas cards.

This in the back of the insert [right side] ... when I added the insert, the left side panel was bare ... not for long.

A little Scottie dog heading for the beach through the snow ... yep! Perfect!
                                     
                                                  ***     ***     ***     ***     ***     ***


And this last card was the one I made for my son's best friend. An apprentice electrician, and a thoroughly nice person! This took hours, but was worth every minute!
I hand-cut every single one of those windows with my Craft knife! I didn't have the stamp set then, but bought it soon afterwards. This is the My Hero set from Paper Smooches. A terrific set, their buildings stamp is way better than my cut-and-paste job, but I was glad to have been able to do it! There are also dies of city skylines, and these are DEFINITELY on my list.

'E' words for an 'epprentice' electrician! ... a bit of creative license.


Twenty-one light bulbs, hand drawn and glittered with Wink of Stella pen.


                                           *     *     *     *     *     *     *     *     *     *

I really like personalising the cards I make. You have to know someone either really well, or at least a few things about what they like etc before you can do this, but it's worth the effort, and pretty much guarantees that your card will be kept, at least for a little while, and that's always nice too.

I hope the lead up to your Christmas celebrations is going well.

Sending happy thoughts your way!

Virginia

Wednesday, 12 November 2014

Pink Peace Cards

Hello Friends ~
I've been making a few more cards over the past couple of weeks, and just thought I would share a few of these.
I've duplicated the card from my post, titled 'Peace', and made a couple more ... some in pink [this was meant to be Christmas Crimson!! Ah well ... ] and another done in the blues, but with gold embossing.
I've added poinsettias to some ... a free Penny Black gift with an English magazine called Papercraft Essentials ~ Issue 113.
Those English magazines sure have some terrific gifts. Although we pay more for them here, they certainly pay you back with their freebies.

Here are my latest cards. I hope someone will enjoy looking through them.


Thinking of what to do on the inside of cards is always a chore for me. I guess it may eventually come easier.

On the front of the card, I used die-cut doves, made from about 150gsm card. On the inside though, I used paper ones so they wouldn't have too much substance.


The colours I used in this were Seedless Preserves and a bit of Dusty Concord. Also Archival 'Plum' for the little bits of stencilling. The greenery is from the Martha Stewart punch, 'Twigs' I think it\'s also called 'Branches'?


Here's something a little different! This idea comes from a Youtube video by Jennifer McGuire, who has some wonderful ideas for cards, both Christmas and otherwise. These trees are made by sponging colour [Peeled Paint and Mowed Lawn] through a sectioned-off part of a round stencil. This particular one is called 'Mayan Calendar', by Crafter's Workshop. You just section of a portion of the stencil with tape, and sponge colour through the triangle you've created. Add the trunk and star, and you have a Christmas tree. Cut a curvy mask and sponge some colour on the edge of it to create some snowbanks ~ I used Salty Ocean. I also lightly sponged the sky. Jennifer didn't, and left hers white, but I liked the faint colour for the sky, and after the first one, I did this to all mine. Lastly, heat emboss the sentiment. Oh, and add an insert of course. Mine were plain white with some tiny silver stars across the very top and bottom. You can just see the inserts in the photo below.


And here is my 'Peace' card, done in blue and gold. This sentiment is also from the free Penny Black set that came with Papercraft Essentials Issue 113.

Thank you so much for looking at my cards and visiting my blog.

Sunday, 2 November 2014

Fairies in the Garden

Hi to anyone who visits my blog ~

I thought I'd post some photos of the Fairy cards I've been making lately. Such pretty little stamps they are ~ from Lavinia Stamps, in England.
I don't have a lot of these stamps, but enough now to put a scene together.
Here's what I've been doing ... thank you for visiting!!


Saturday, 6 September 2014

Peace

Like many card makers, I've begun my Christmas cards. This first set has come about for a couple of reasons ...

Firstly, 'Peace' is really the message I want to send out this Christmas, and the design I've started with has  a lot of dark and also some light, fitting with the turmoil the world is currently undergoing, but overall sending a message of Peace and Hope.

Secondly, yesterday I was trying to heat emboss the raised surfaces of an embossed panel, but had no luck at all. I finished up with big, chunky, blocky sections of silver, but they were too pretty to toss, so I've added stencilling, and stamping in very dark shades to try and give some balance.

Despite the gold-look in this one, the embossing is silver.

The name of this lovely, graceful Embossing  Folder is 'Waterfall' by Couture Creations. First I sponged using Distress 'Broken China'. I love this colour, especially for skies.


Next, more sponging with Memento 'Nautical Blue'. This is the first time I've used this shade, and I love it. 


To darken the blue shading even further, and to add some visual texture, I stamped with my SU 'En Francais' stamp ~ but any script stamp would do. I also sponged the colour [Archival 'Cobalt'], through a couple of sheets I had left over from hole punching and from cutting out some stamens from the Heartfelt Creations 'Aster' die set. A snowflake stamp would be good here, but I had this on my table and thought it worked well. The big blocky chunks of silver are actually starting to look as if they belong!

I trimmed a piece of navy card to matt my main image, but it wasn't the right shade ~ too purpley. All I had though, and black looked wrong.

A heavy sponging with the 'Nautical Blue' fixed the problem.

I used the 'Peace' stamp from this set for the sentiment, and stamped it onto a small label that I'd die-cut ages ago using the Card Creator A2 'Distressed Edges' set, but any tag would do, or a hand-cut one ... the white tag was sponged on the edges with 'Nautical Blue' and matted onto a small piece of the navy card, just the cut-off end of the piece I used to matt the main panel.

These doves are a die set by Memory Box, called 'Peace Doves'. It comes as a set of two. I sponged the edges to give the illusion of shape.


And here are the three cards I came up with ... all the same, but all a little different. I may go back and add some more text to the one on the right, but other than that I'm fairly happy, and really glad I didn't  toss the panels yesterday!

Thursday, 28 August 2014

Making JellyDots

The other day I ordered some enamel dots for a project I was working on. I waited and waited for them to arrive so I could finish the journal page I was working on.
When they arrived, they were lovely, but were missing one of the colours I needed.
 
You can see the 'real' enamel dots at the top, my handmade ones at the bottom.
This was my first attempt to make some, using 150gsm card, a plain old ordinary paper punch, my Copic markers and Glossy Accents.

While these were quite pretty, and definitely in the colours I wanted, you can see that the drop of Glossy Accents didn't spread to the edges.
So, back to the old drawing board.

I decided to make more, and use a headpin to work the Glossy Accents to the edges of the tiny circles of card. My largest hole punch is a quarter-inch, and a bigger one would definitely be better. Three-eighths maybe?

This worked REALLY WELL!
HOWEVER ... trying to get the headpin out, even using a second pin to free it from the GA was like playing a game of CRAZY CHOPSTICKS!
I was a step closer though.

Finally, I laid a strip of double-sided tape down onto a thick plastic bag, and laid just the very edge of the dot onto this. This holds it still while you
a) colour it with your markers in the colour you want, and
b) add the Glossy Accents drop and spread it to the edges using the sharp end of a headpin.
I left these to dry overnight and they are ready to use. However, a little longer might be better as I can push my thumbnail into them and leave a groove.
All up this took about five/ten minutes!

While these don't look exactly like the enamel dots you buy, they are cute, you can make them in any colour and size [limited only by the size hole punch you have], and finally, they cost NEXT TO NOTHING!
I thought while I was making them, they would look really nice with a few of the tiny glassbeads, or a seed bead pushed into them ... kind of like a mini-mini-paperweight!!

I will call them JellyDots, as they have a layer of clear over them and look like tiny little dots of jelly!

PS: Have now tried the 'adding beads' bit ... no, I don't think this all that good.
Here's a photo of my 'mass production' line ... laughing here ... all in all, including punching the circles, this lot took about 90-minutes.
Until the Glossy Accents dries, they may look a little milky, but this will totally disappear overnight.
One thing worth mentioning ... don't use High Tack double-sided tape ... just cheap old K-Mart special is good, and tap your hands over it before you place the dots ... just to remove some of the stickiness. This makes the dots easier to get off the next day!!

Have fun!

Tuesday, 26 August 2014

Simple Watercolour Cards

I thought I'd post today, a simple technique for making very simple watercolour cards.


There are many posts on Youtube for this technique, as it's really popular.
This is what works for me, and allows me to make quick and easy cards to donate to my local vet, at a relatively little cost.


As someone who has received, and kept, cards from my vet after having sweet old Ellie put to sleep a few years ago, and beautiful Baxter in 2012, I wanted to come up with something quiet and peaceful and hopefully calming.


This technique seems to work well for this on-going project, and I choose the stamps and colours somewhat randomly, but always trying to keep in mind what these cards are for, and the feelings of the person who might receive one.

A little white in the background sometimes looks nice, and fits the image quite well.

Paper and Cards :
Just because something is inexpensive, it doesn't have to be 'nasty'. My local Scrapbook Store in York Rd, has a lovely range of rectangular cards, and I also buy from my local 'cheap' shop ... the square ones ...but in both cases the cards are die-cut and well matched up on the edges.

I mostly use mauve and white. Also pale blue and pale green look nice.

The Watercolour paper is Creativ brand, and I bought mine in K-Mart. An A3 pad will give six 12.5mm card panels from one page, which fit a 13cm x 13cm card base perfectly.

I have tried thicker papers, but found they were too thick for the cards, so I like this one ... it's only 180gsm, but has a well-textured side  which soaks up the water and colour well. You can also re-dip this a couple of times if you miss a spot.


Colour :
This is so simple ... simply scribble your chosen colours on an acrylic block ... or the edge of a plastic box [I marked out a square frame for this on the corner of a marker storage box] ... or an acetate sheet will also work well.

Every thing you need : A panel of watercolour paper cut a tiny bit smaller than your card-base, an acrylic block, watercolour markers [these are Marvy markers and Memento markers. Both work well. The Ranger Distress inkpads and markers also work well.

Here, I've added a mauve centre and an aqua surround. This is how it looks after a spray.

After  you've added the colour, give it a spray and dip your paper. When you lift it, you will see if there are any spots that need to be dipped again. Sometimes you can get a second panel done from the one colouring.
Let these dry, then stamp them.

A couple of these don't look the best ... if I don't like them after I've stamped them, I will bin them.

I really love the pelican stamp from Cherrypie on Ebay.  [See above in top photo and here].

It has lovely detail and seems to fit well with what I need.
I also use flower stamps, grass, and seabirds.
The seabirds and the grass stamps used here are from Stampscapes.
There are also lovely seabird stamps in the Beach set the pelican belongs with from Cherry Pie.
Sometimes I need to reinforce the horizon ... I do this with a brush dipped in a tiny bit of sprayed marker scribble in the colours I need. I don't often do this, but sometimes in a sea scene you do need to.

This card [below], was made using the top right panel in the photo two above. It was pretty randomly grey, but turned out to be a nice background for this peony stamp by Tonic Stamps.

To stamp, I use Archival Ink by Ranger, in Jet Black. This lets me use watercolour again to colour.
I coloured this panel, the peony using watered down Gelatos.

I used Gelatos in  this one too, but ended up tossing it as I messed up the stem and leaf I added. The gelatos worked really well though, in adding the colour. It was my hand drawing that bombed this one!

If I want to use Copics, I stamp using Memento Tuxedo Black.

Archival [or Versafine], work better with the watercolours though, and don't smear or bleed.

Finishing the Cards:
To finish these cards, I add an insert on the inside. This is just a full-sized leaf cut to a slightly smaller size than the card, using 80gms computer paper. Nothing fancy at all, but I add white with a white card and mauve with a mauve card.

Distressing the Edges :

I distress the edges of my panels with a Tim Holtz distresser ~ [you can see this distinctive little tool in the photos], and I add an extra layer of colour, by inking around the edges carefully.

I like this way to finish off these particular cards, as it gives a nice 'layer' of colour without the weight of an added panel.


I add the panel to the card-base using X-PressIt High Tack double-sided tape, and it's done.
I never add a sentiment, as these cards fill a different niche than what's usually  and the vet nurses write their personal messages inside.

I really love making these cards. This watercolour technique is one of my favourites, and it allows you to try new things, while working to a 'plan'. For this last set I made, I tried out some new stamps, practised using my Gelatos as a watercolouring medium, and tested out some new cardbases.

Thanks so much for visiting Seadragon Song, and I hope you might return in the future.
Virginia